TABLE OF CONTENTS
BEST STANDS FOR DUTCH & DUTCH 8C?
The best stands for Dutch & Dutch 8c and the large majority of other loudspeakers are those that provide a stable base, do not resonate, and put the speakers reference axis at your ear height. In my case, when I’m sitting relaxed in my listening position, my ears are at 1020mm from the floor. The reference axis for the Dutch & Dutch 8c is at 265mm from the bottom of the speaker. Thus, for my circumstances, I needed stands that were 755mm high.
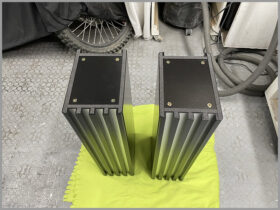
There are dedicated 8c speaker stands available from Dutch & Dutch, however, they are only 600mm high and they are not very visually appealing to me. I previously made a number of open frame stands for Harbeth speakers, and I was really pleased with how these turned out. However, after mocking up stands like this for 8c speakers, I wasn’t too keen on that design either. I have therefore decided to go for a ‘pedestal’ design of stand with some silver stripes at the front, to add a bit of ‘flavour’ to my rather dull looking black 8cs.
PLANNING
If you have seen any of my other stand designs, you’ll know that visually, I like the stand base to have the same dimensions as the loudspeaker base. This approach works well for very large monitors such as Harbeth M40.1, but it is not ideal in terms of stability for smaller speakers that require tall stands, especially if they are as heavy as Dutch & Dutch 8c. The only way I could make that approach work would be if the stands were very heavy, which would significantly lower the centre of mass of the whole speaker-stand assembly, making it a lot more stable. This has nicely correlated with my aesthetic preference for pedestal-type stands for 8cs, which could be sand filled to achieve the desired weight.
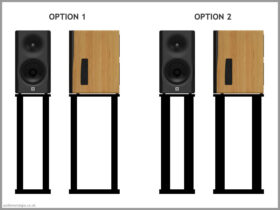
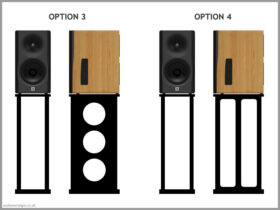
Just to be sure, with the aid of Photoshop I had mocked up various stand designs for my Dutch & Dutch 8c. I found Option 6 to be most aesthetically pleasing. Before proceeding with the work, I mocked up the stand using some off-cut materials, to ensure I like their look in the real life.
- To make this design aesthetically pleasing, the bottom plate would be twice the thickness of the top plate.
- The top plate would have holes aligned with the M6 threaded holes at the bottom of each Dutch & Dutch 8c speaker. This would allow me to screw the speakers to the sands, making the whole assembly easier to move around during setup.
- The bottom plate would have M6 threaded holes to accommodate spikes or rubber feet.
- The pillars would be assembled using wood glue and dowels. It is more time consuming than using wood screws, but it does not require using filler to cover screw heads before painting.
BUILDING SPEAKER STANDS FOR DUTCH & DUTCH 8C
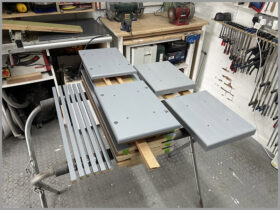
The production process of Dutch & Dutch 8c stands started by cutting 18mm MDF board into correct sizes using my table saw. I then marked up all elements and drilled the holes for the dowels using my Wolfcraft Dowelmaster Jig. I’ve glued the dowels into the boards but not assembled the pillars yet. I then proceeded with marking tops and bottoms of the pillars in order to drill mounting holes for the top and bottom stand plates.
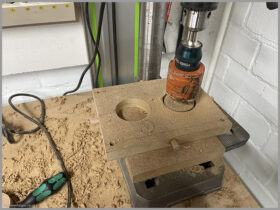
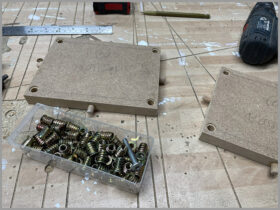
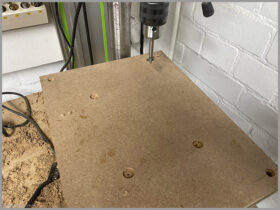
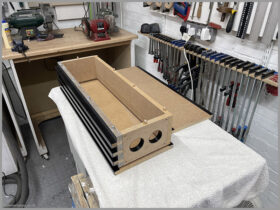
For the pillar tops, I drilled the holes all the way through and installed the captive threaded inserts. The stands are going to be very heavy, and when I move them around, I normally grab hold of the top plate. Because of this, I wanted to ensue that connection between the stand top plate and the pillar is going to be strong enough to survive that. I also used the hole saw to drill two access holes in each pillar top. These holes will be used for filling the pillars with sand.
For the pillar bottoms I used threaded inserts. This is because I wanted bottoms to be completely sealed to prevent any sand leakage. Moreover, stand bottom plates are going to be relatively light, thus, these inserts will be under very little pressure when I move the stands around (i.e. the weight of the bottom plate won’t be pulling down much when I lift the stand up).
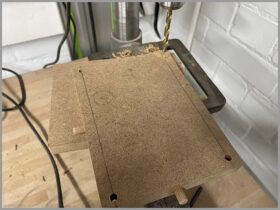
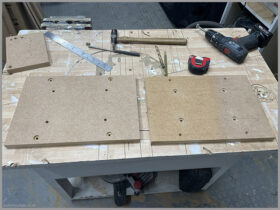
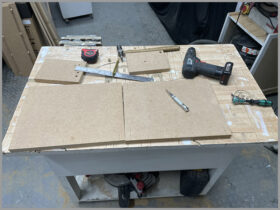
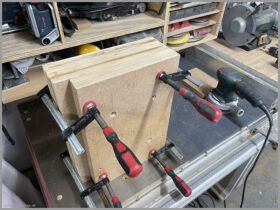
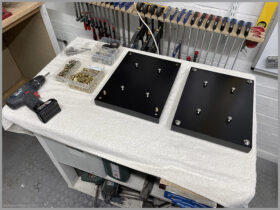
I then proceeded with marking top and bottom plates in order to drill the holes for the mounting bolts. I also drilled the holes for the threaded inserts for the stand feet. I then glued the two pieces of 18mm MDF in order to increase the thickness of bottom plates, and when the glue was dry, I drilled holes for the mounting bolts.
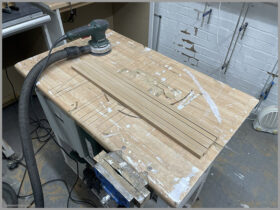
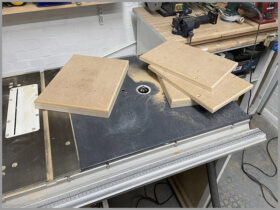
With all components ready, I proceeded with sanding the exposed MDF edges. This is the part of DIY that I enjoy the least, but it is essential for a good finish. Generally, the more effort you put into prep, the better overall result will be. Once everything was sanded, I used my router table to round over stand plates as well as outer edges of the pillars.
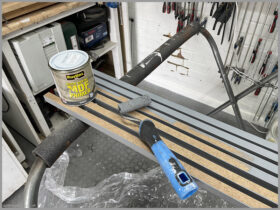
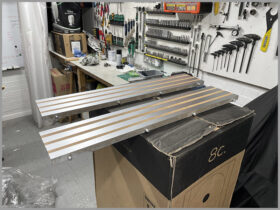
Because I wanted silver strips on the pillar fronts, I decided to apply finish in two stages. First apply it to the elements that would be difficult to paint when the stands are assembled, and then once the stands are built, apply it to all other areas. I’ve cleaned the components with damp cloth and begun painting. I started with the grey MDF primer, which after sanding was covered with two layers of satin black paint. On this occasion I used a short pile roller to apply the finish. I find this method a lot less messy than spray painting, and to be completely honest, I don’t mind a bit of texture on the MDF. I also put the masking tape on the pillar fronts and spray painted silver strips. I did this instead of just painting the whole front because I wanted to ensure that there is enough exposed MDF left for me to glue on the black slats.
When everything was dry, I started gluing together pillars for the Dutch & Dutch 8c stands. I used the large square to ensure that pillar bottoms and tops are perpendicular to the sides and fronts. I then primed all unfinished areas, sanded them, and finished them with two coats of satin black paint. Threaded inserts were installed into bottom plates as well as pillar bottoms.
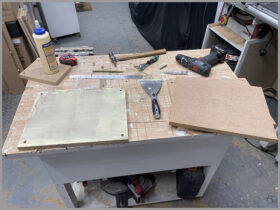
I used 2mm neoprene to create a layer between the pillars and the stand plates. This is mainly to prevent the plates sticking to the pillar and ripping the paint off during disassembly. Having a thin neoprene layer between them will allow me to take the stands apart as and when needed without any detriments to the finish.
Bottom plates were attached to the pillars using flange head stainless steel M6 bolts. These were cut to the appropriate size to ensure that once assembled, the bolt length does not exceed the length of the threaded inserts in the stand pillars. Audio Nostalgia logos were attached to the stand bottom plates using nickel plated M1.7 mini wood screws. Before the top plates were attached, the stands were completely filled with klin dried sand, achieving an impressive weight of 35.5kg each stand!!!
To complete the stands, I added two rubber cable organisers to the back of each stand. They will keep the cables neatly behind each speaker making the whole setup a little more tidy. I’ve also bolted the speakers to the stands using the previously mentioned mounting holes in the stand top plates. Adding holes was a great idea as each speaker together with the stand weighs over 60kg. It is therefore much easier to move them as one unit during small placement tweaks.
LIST OF COMPONENTS & PRICES
Despite doing a lot of DIY, I always underestimate how much time and effort is required to build things from scratch. I also have a tendency of making my life way more difficult than in needs to be by coming up with designs that are often challenging to execute. Dutch & Dutch 8c stands are a great example of that.
Table below contains the list of the parts together with prices, necessary to build a pair of stands for Dutch & Dutch 8c speakers. Some of the components such as wood glue or neoprene sheet that were already in my possession are not on this list. Prices of the items listed below were correct at the time of writing this article.
| Total Time: | 30h |
| Total Cost: | £122.56 |
| Item | Details | Unit | Qty | Price Per Unit | Total Price |
| MDF Board | 2440 x 1220 x 18mm | Piece | 1 | £33.00 | £33.00 |
| Four Pronged Captive Threaded Inserts | M6 x 9mm | Pack of 10 | 1 | £2.77 | £2.77 |
| Threaded Wood Inserts | M6 x 10mm | Pack of 10 | 1 | £3.41 | £3.41 |
| Jenolite Chrome Spray Paint | Chrome | Can (400ml) | 1 | £12.99 | £12.99 |
| Rustins MDGP500 MDF Primer | Grey | Can (500ml) | 1 | £12.00 | £12.00 |
| Rustins ASAP Paint | Satin Black | Can (1000ml) | 1 | £21.00 | £21.00 |
| Paving Sand | Kiln Dried | Large Bag | 2 | £6.80 | £13.60 |
| Rubber Cable Organiser | 5 Slot | Piece | 4 | £2.59 | £10.36 |
| Hex Head Screws Nickel Plated Wood Screws | M1.7 x 10mm | Pack os 100 | 1 | £4.25 | £4.25 |
| Stainless Hex Flanged Button Head Bolts Bolts | M6 x 50mm | Pack of 20 | 1 | £5.68 | £5.68 |
| Stainless Hex Flanged Button Head Bolts Bolts | M6 x 25mm | Pack of 20 | 1 | £3.50 | £3.50 |
| £122.56 |
Completed: September 2023 | Published: October 2023


