TABLE OF CONTENTS
BEST STANDS FOR HARBETH M40.1?
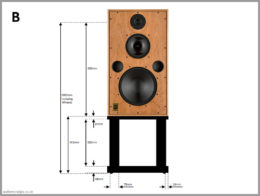
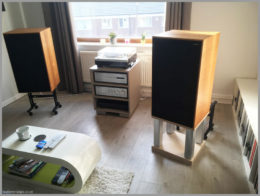
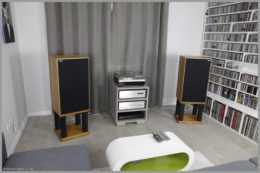
I frequently see this question in relation to Harbeth speakers… Based on my experience, the best stands for Harbeth M40.1 are those that are of a correct height for your listening position (with tweeters at the same height as your ears). In my case, and with the new sofa in place, this happened to be 1060mm from the floor. In the M40.1s and M40.3s, centre of the tweeter is at 660mm from the bottom of the speaker, thus for my circumstances I need a 400mm high stands.
I previously made a set of open frame/open top wooden stands for Harbeth M30.1 and other Harbeth models, and I was really pleased with how these turned out. I have therefore decided to use the same design but beef it up slightly to accommodate the heavy weight of my Harbeth M40.1 speakers. I thought that it would also be a good idea to build castors into the stands bottom plinth. After all, most of my house is covered in hard floors and lifting large 30kg+ speakers is not ideal. Having discrete castors would allow me to easily reposition both speaker and stand.
PLANNING HARBETH M40.1 SPEAKER STANDS
I began by searching for low profile rubber castors. It turned out that the choice is rather limited and the smallest castors I was able to find had 25mm wheels, with a total castor height of 39mm. They were rated at 10kg per castor, which when multiplied by four, gave me enough capacity to accommodate the speaker + stand weight. Castor height, among other factors, had an impact on the thickness of the bottom plinth, as I wanted to use it to disguise the castors. This would make the stands appear more conventional.
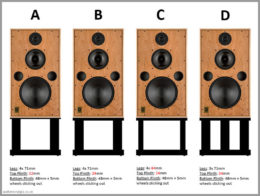
With the aid of Photoshop, I mocked up some potential designs for my Harbeth M40.1 speaker stands. Due to the rather large footprint of the M40.1s, the bottom of the speaker stand has the same dimensions as the top. As you can see in the first image below, I considered differing leg placements, different top plinth thicknesses, as well as different leg widths. I found version B to be most aesthetically pleasing. Before proceeding with the work, I mocked up the stand using some off-cut materials from my previous stand builds, to ensure I was going to be happy with their look in my living room. I was. I decided to go with a 48mm thick bottom plinth and 24mm top plinth, together with four 70mm legs.
BUILDING STANDS FOR HARBETH 40.1
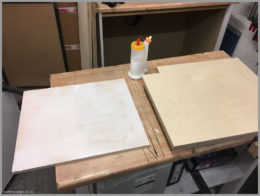
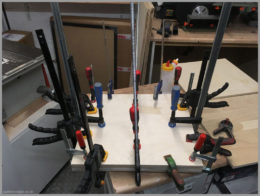
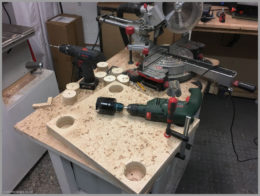
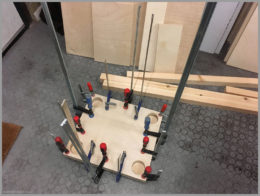
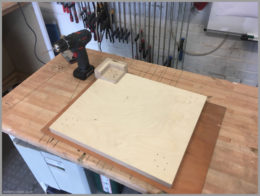
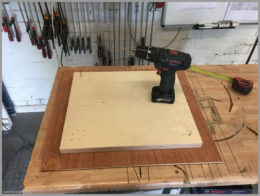
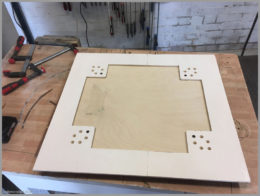
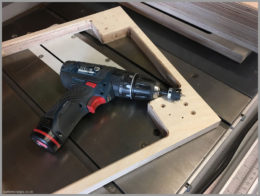
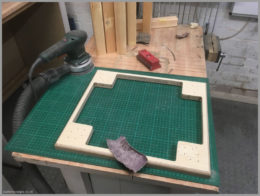
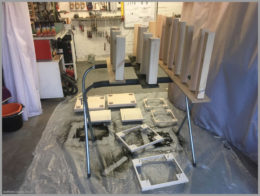
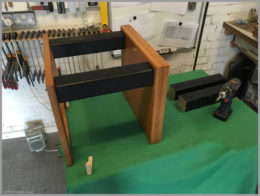
Having learned about the difficulties in leg/plinth alignment, I decided to make a double sided jig (visible on first and last two photos below) with stainless steel inlaid pilot holes. The idea behind this was to ensure that screw holes in the plinths are an appropriate distance from the outer corners, which in turn would guarantee the correct leg spacing. Have a look at the last two photos in this section, to see what I’m talking about. After all, a picture is worth a thousand words!
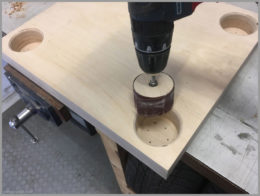
The production process started by cutting 12mm birch plywood into the correct sizes using a table saw. Afterwards, three 12mm layers of birch plywood were glued together and castor holes were drilled in using a holesaw. Once done, another 12mm layer of birch ply was glued on top. This created 48mm thick bottom plinths, with 36mm deep holes for castors and a nice flat surface to mount them on. Legs were cut to size using a mitre saw with a stop-block to achieve the same length for all 8 legs. My jig was used to drill the screw holes in all 4 plinths and to drill screw holes in the legs.
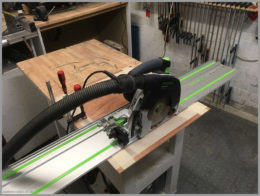
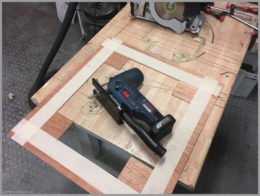
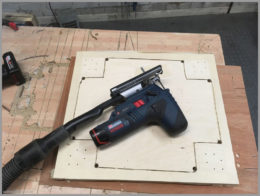
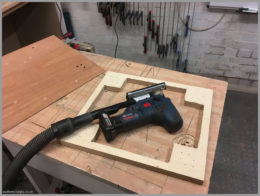
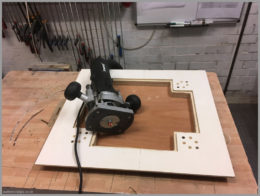
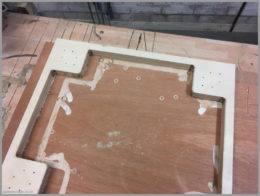
In order to cut out middle of top plinths, I proceeded with creating another jig. I started from cutting an oversized piece of thin plywood, and placing the top plinth on it, in order to transfer the screw hole positions onto the jig. I then marked the position of the legs and proceeded with cutting out middle area of the jig, first using a track saw for straight cuts and then using a jig saw for curvatures. The inner edges of the jig were sanded to ensure that they are all straight and smooth. Screw holes in the face of the jig were countersunk to provide a flat surface for the router to glide on.
The jig was provisionally attached to top plinths to mark the cut-out area. The jig was then removed and slightly smaller area was cut out using jig saw, to make the cutting easier for the router. The jig was then properly attached to the top plinth and a router with a guide bush was used to do final cuts.
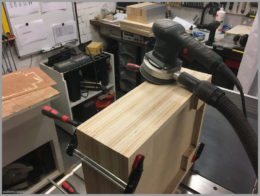
All of the plinths were clamped together and a random orbital sander was used to level small size variations between the plinths. Leg side edges, together with bottom outer edges and top inner edges of the top plinths, were rounded using a router table with a guided roundover bit.
All of the surfaces were sanded with 120grit sandpaper. They were then sprayed with water to raise the grain, and once dry, sanded using 240 grit sandpaper. All of the parts together with the workshop area were thoroughly cleaned in preparation for painting.
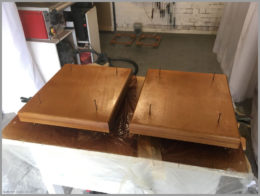
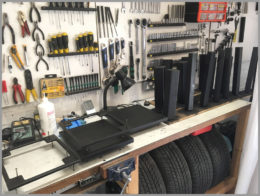
All parts were marked and prepared for spray painting. One can of matt black spray paint was used to create a satisfying finish on the legs. Nearly one can of antique pine varnish was used for painting bottom plinths with a spray gun. After multiple cotes and light sanding in between, all components were left to dry for 24h. Because at the time I was also making some stands to order, you will see more components on the photos below than what would be required for these Harbeth M40.1 speaker stands.
The assembly was a pleasure because the screw holes in the legs perfectly matched the screw holes in the tops. It was well worth spending a little extra time to create the first jig. Castors were fitted into the bottom plinths and my Audio Nostalgia brass logo was added onto the fronts. I also wanted to ensure that my precious Harbeth Monitor 40.1 speakers do not sit on a slippery surface, and decided to run a narrow strip of thin neoprene around the perimeter of the stand tops. This, apart from reducing the contact area between the speaker and the stand, also makes it harder for the speaker to slip off.
If you ever built something new from scratch you will know how much time it takes… If you don’t, let me tell you – it always takes much longer that what you think it is going to take – especially if you are as fussy about aesthetics as I seem to be. In this instance, the whole process took a total of 16h.
You don’t need all of the tools that I used to make these, so don’t let that discourage you from building your own stands. Having access to various power tools makes it easier to achieve good results in a shorter amount of time, however, you can get equally good results with a quite simple tools, although you may need to put in more time and a bit more elbow grease.
LIST OF COMPONENTS & PRICES FOR HARBETH M40.1 SPEAKER STANDS
The table below contains a list of the parts together with prices, necessary to build a pair of stands for Harbeth Monitor 40.1 or Harbeth Monitor 40.3. Some of the components that were already in my possession may not be on this list. This stand design can be used for other Harbeth speakers stands, but in this case you will of course have to use measurements appropriate for your speakers. The price of the items listed below was correct at the time of writing this article.
| Total Time: | 16h |
| Total Cost: | £106.00 |
| Item | Details | Unit | Qty | Price Per Unit | Total Price |
| Planed Square Edge Timber | 69x70mm | 1m | 2.4 | £6.84 | £16.42 |
| Birch Plywood (BB/BB Grade) | 2440 x 1220 x 12mm | Piece | 1 | £42.00 | £42.00 |
| Countersunk Multipurpose Black Screws | 50mm x 3.5mm | Pack | 1 | £4.72 | £4.72 |
| Neoprene Sheet | 297 x 210 x 3mm | Piece | 1 | £3.00 | £3.00 |
| Heavy Duty Rubber Castors | ø25mm Wheels | Piece | 8 | £2.25 | £18.00 |
| Ronseal Interior Varnish | Antique Pine | Can (750ml) | 1 | £2.00 | £15.99 |
| Plasti-kote Spray Paint | Matt Black | Can (400ml) | 1 | £5.87 | £5.87 |
| £106.00 |
Completed: May 2019 | Published: November 2019


